Thursday, 4 January 2018

Mini Scrapbook Tutorial


Hi everyone,

It's been ages since I added anything to my blog, but I have been asked to do a tutorial for one of the facebook groups that I am in called SMASH*ing, Scrapbook, Planners & Paper & ALL Craft Fanatics!  There will be a new tutorial by a different person on a different subject each week, which I think is a great idea to get ideas and inspiration.

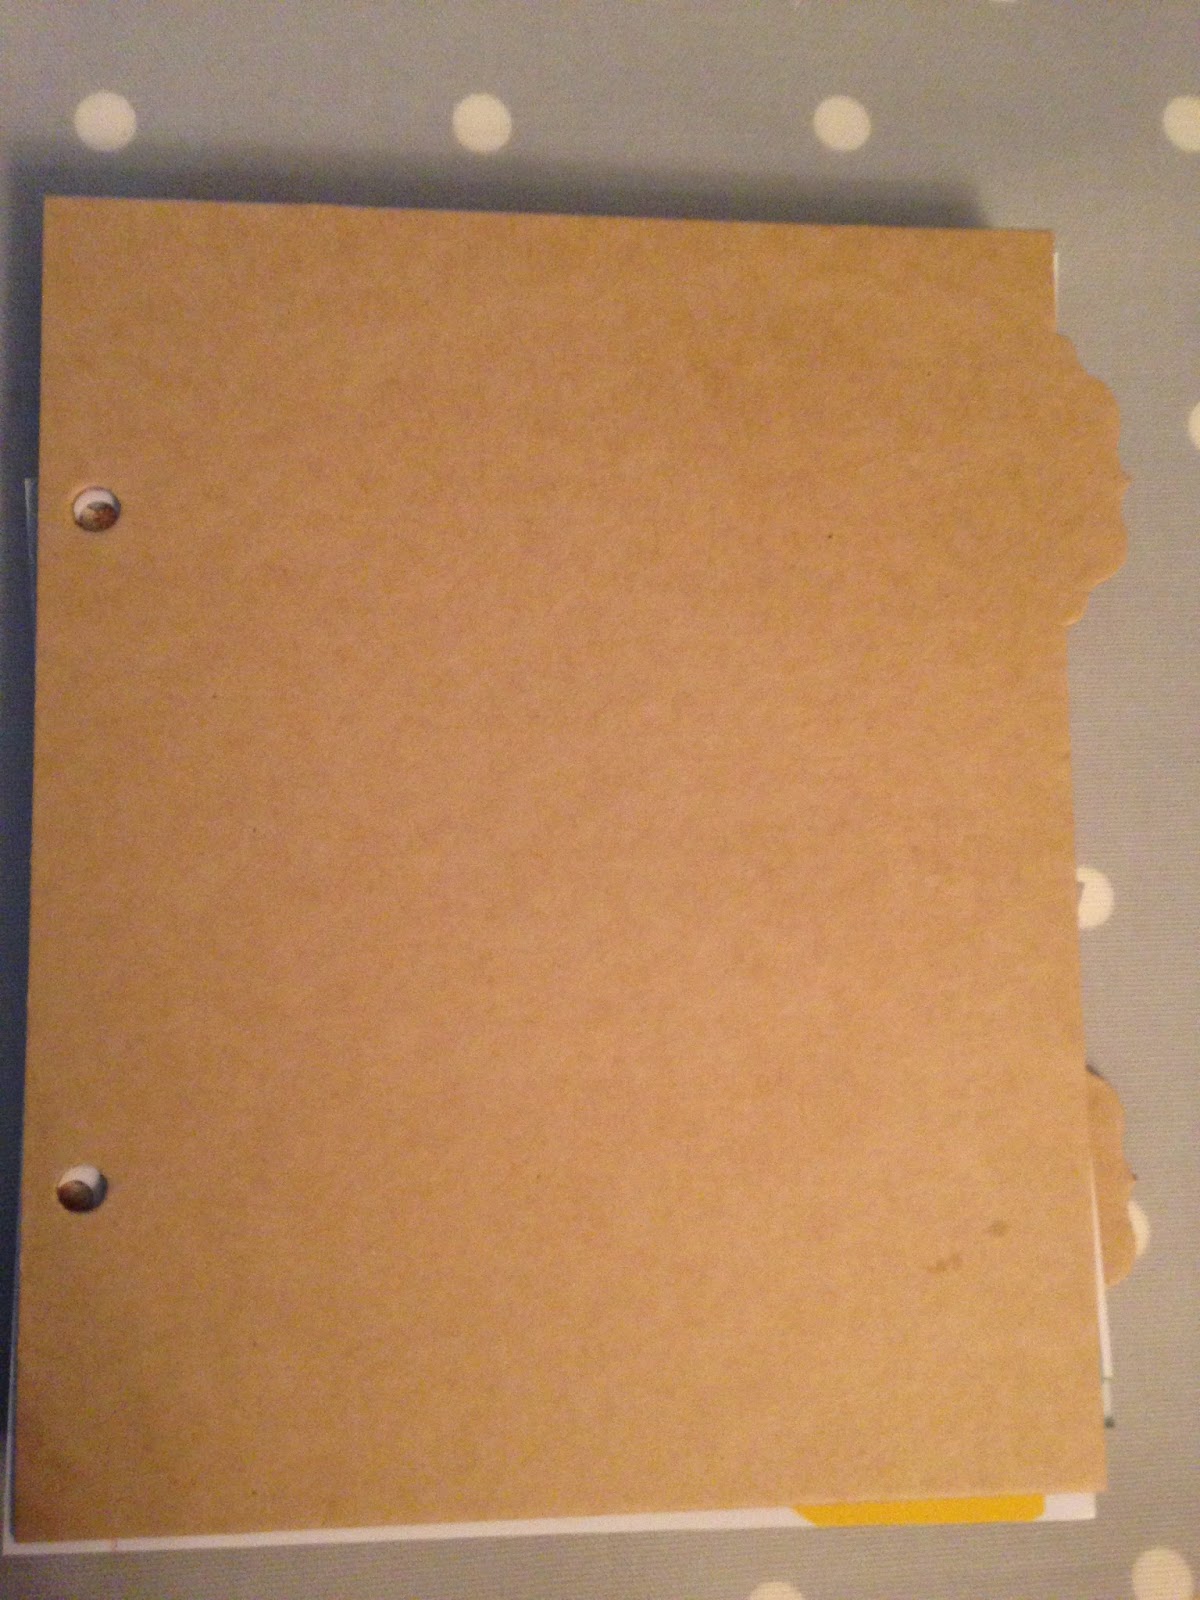
My plan for the next few months is to finish some of my half finished scrapbooks, so the one I started on was a mini book of our family holiday to Wiltshire in July. I had great intentions of getting it done as soon as we got back but I only got as far as getting the book pages together and printing the photos. For the front and back covers of the book I am using dividers that came with my Simple Stories Project Life album as they are quite thick. I used the size of these and the holes as a guide for other pages inside, which I made using random patterned pages from my stash. I will then use rings to hold it all together.

So this is what I started off with for one of my double page spreads about the day we spent at Cotswold Wildlife Park...


The title is from the paper bag we got given when buying something from the shop and the little lion image is from a tourist map of the area. I used this map to cut out lots of little images for the different places we went.

I also had a postcard with a camera on it to add in as a smaller page as I like to have a few different sized pages for interest. This would also enable me to add in an extra photo on the other side. 


The next thing I did was to gather my supplies which were mostly from Studio Calico Kits. I didn't have a lot of time and these come in neat little zip bags so were easy to get to without trawling through my stash. I picked out anything that would go with the colours or the theme of the pages. I like to have a variety of shapes of embellishments and textures on my pages. Here are a few of the things I picked out...


After rearranging the photos and removing one entirely (as there wasn't enough space), this is what I came up with...


I added a doily behind the photos on the left hand page to break up the busy pattern of the background. On the right hand page, I added some phrase stickers, a wooden butterfly and a squirrel charm. I also used a journalling card to write about the day. I very rarely keep up with my scrapbooks so I keep a diary and use that to write my journalling when I finally get around to it!


I then looked again at the camera postcard and decided that the yellow didn't go with the more muted colours. I liked the size of it however, so found another piece of card, cut it down to size and added a stamp...


On the back I added a photo with a wooden heart and a title and punched holes using my cropodile. I liked the gold letters but only had one letter 'i' left so I improvised and cut off the bottom of a letter 'j' instead, which I think I got away with!


 These are the final pages with the smaller page in the middle...


I was pleased with how they turned out and pleased to have made a good start on this album. I now have to add the date to the gold "Today" tag when I have found my date stamp!

I hope you enjoyed my tutorial and that it gave you a few ideas for your own pages.

Katie x

Friday, 27 March 2015

Welcome Little One

Hi everyone,

Well here is a new baby card I made recently for the arrival of a little girl. For the main image I used a Forever Friends sticker by DoCrafts and used stickles to add some sparkle to the edges of the towel. I then matched that with pastel colours - mainly pinks with dashes of other colours too.


The embossing folder that I used is a fairly small one, as I use a cuttlebug, so I embossed the white piece of card twice and hid the join underneath the strip of pink stripy paper. As the pattern is random, it is impossible to tell. I then added a few tiny pink star buttons randomly over the card.


I would like to enter this card into the Crafting Cafe Challenge "Welcome Little One". 

I hope you like this card and thanks for looking. 

Katie xx
 

Little Boy Cards

Hi everyone!

Today I want to share some cards I made for little boys' birthdays. I have never had to make cards for children before, so this was completely new to me! I really enjoyed the challenge though and it was nice to make something different.

When starting I knew that I wanted to use bright colours and keep the cards quite simple as they were for young boys.

The first is a first birthday card. I used the main image of a lion, which I cut out from some wrapping paper. You can get so many nice images from wrapping paper at a good price and you often get lots of different images on one sheet. I kept the rest of the card simple with a plain blue background and different colour blue stars. I picked the colours to match the "Happy Birthday" banner that I used. Obviously I had to include the number 1 too as it's such an important birthday!


The second card is for a boy's third birthday. I used more colours on this card, but again used wrapping paper for my main images of a boat and a bus. I then added a large number 3 and some stars in colours to match.


I hope you've enjoyed seeing my cards and thanks for looking.

Katie xx

Friday, 9 January 2015

Flower Card

Hi everyone,

Hope you all had a fab Christmas and New Year. I managed to make nearly 60 Christmas cards and had to do a few last minute quick ones too! I am still working on my December Daily at the moment. Hoping to get that finished soon so that I can get on with thank you cards. 

Here is a birthday card that I made for my Mum in December. It was a nice change from all the Christmas cards!

I stamped flowers onto patterned paper and cut them out before arranging them on the embossed white card. I outlined this using a black rectangular glitter peel off, which I think makes it stand out. I like the black lines against the colour and pattern of the papers used. 

Thanks for looking!

Katie x

Wednesday, 5 November 2014

First Christmas Cards

Hi everyone,

Like many crafters at the moment, I am frantically making Christmas cards! I think I've made about 38 so far, so I am getting there! Hoping to have them all done and dusted by the end of November, so that I can get going on my December Daily and catch up with the Smashbook I'm doing for my little boy's first year. 

So here are the first few Christmas cards I made. I made them using my new Card-io stamps and really enjoyed doing something different. I think they are quite simple but effective.


For these cards, I used the more traditional Christmas colours, so red and green. I also added glossy accents to the baubles to make them 3d. 


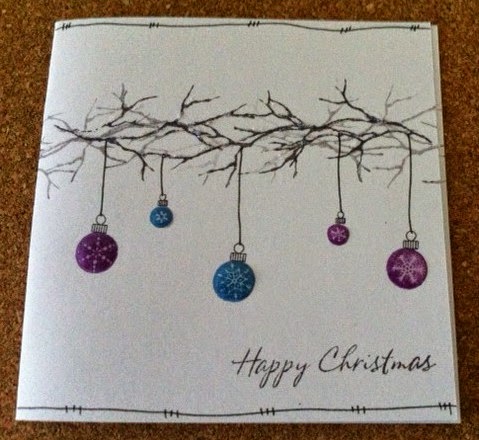
I tried some more "modern" colours for this one. I do like blues and purples for some Christmas cards and think they work well with the baubles here. 


Thanks for looking and I hope you like these cards.

Katie xx

Saturday, 11 October 2014

Craft Show Goodies & Card-io Stamps

Hi everyone,

Well recently, my mum and I had our annual day out together to the ICHF Craft Show at Westpoint in Exeter. Despite both of us feeling a bit under the weather we both had a great day and bought some lovely things. This is what I bought:


A lot of what I buy now at the show are the general things like glue, stamping card, ribbons, adhesive gems/pearls and a few bits for Christmas. This year I bought a few things from the DoCrafts Bellissima range. I love the colours and the papers in the pack.

The most exciting thing I bought was some little stamps by Card-io. My mum has been using these for years especially at Christmas, but this is the first sets I have bought. They always have a fab stand at the show too, with a lady doing demonstrating and loads of gorgeous samples.


I was keen to have a go with these, so here is the first card that I made using them:


I made this card by stamping the branch and other flowers and using inkylicious brushes to add some colour. I then stamped the butterflies and sentiment and added the border around the edge of the card.

Thanks for looking and I'll be back again soon with some Christmas cards I have been making using these stamps.

Katie xx


Monday, 22 September 2014

A tortoise and a tractor!

Good Evening!

This year for hubby's birthday I had to make 2 cards, one from me and one from our little boy! I struggled for ideas to start with for a card from me this year. I wanted to use some things I hadn't used for a card for him before but didn't have anything new! I therefore had a rummage and found this cute little tortoise stamp that I have had for years.


I paired the image with some papers from the Michael Powell range from DoCrafts and kraft card. The embellishments were all bits and pieces from my stash. 


For the card from our little boy I saw a perfect sticker by DoCrafts which was a Forever Friends Bear on a red tractor. The leaves and "You're the Best" stickers were from the same set. I mounted them on red striped card with a border of plain red card to match the tractor.


Thanks for stopping by. I would like to enter the tortoise card into the following challenges:
I'll be back again soon!

Katie xx

Thursday, 18 September 2014

Batch Making - Chronology Cards


Hi everyone,

I am a bit late this week as we went away for a few days over the weekend and then had no internet last night, but I've got myself organised tonight to show you some cards I made recently. Since having my little boy I have started doing a lot more things in batches! I have started batch cooking at the start of the month and filling the freezer with easy meals. It saves me time and means we still get a home cooked meal that is really quick to prepare some evenings. Well I've now started batch making cards too. I made a card for my Dad's birthday using the DoCrafts Chronology range, which took me a little while to make. I am now more out of practise at making cards so it takes me a while to get into the swing of things. After I had done one however, I had lots of ideas so thought I would make a batch using that range whilst I had the ideas. Here are some of the results:

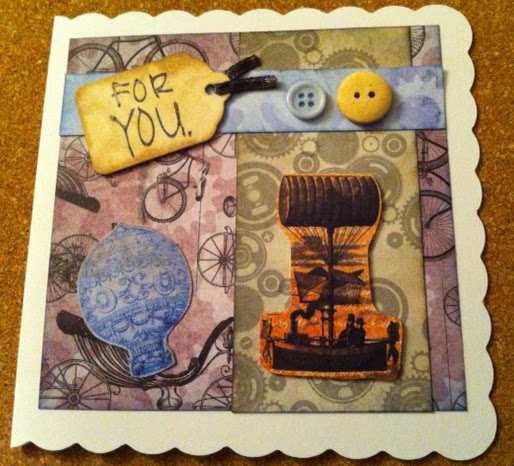
This is a small card, which I find great for little thank you cards and for using up little bits of papers. I distressed the tag using walnut stain and stamped it with a little stamp from my stash. 


I cut out the balloon and boat images from the papers to make this card.


For this card I stamped the centre image using black ink several times. I cut out the various parts like the clocks and person from one of the images and distressed them with different distress inks. I used antique linen for the background, walnut stain for the person, and faded jeans and dusty concord for the clocks. I then layered them onto the background image.

Thanks for looking. I'll be back again next week with some more I have made.

Katie xx


Monday, 8 September 2014

Gorjuss Birthday Card


Evening everyone,

This week I am going to share a birthday card that I made for my sister in law using the DoCrafts Gorjuss range. I bought the papers a while ago, but bought the stamps at the beginning of the year and this is the first time I have used them.

I stamped the image and used Copics and Promarkers to colour it in. I then used the papers and buttons from the range. 


I love the rich colours of the papers in this range and the fact that there are loads of images on the packaging for you to use too.

After a visit to a fab local bead shop, I have been making some jewellery this weekend. I have really enjoyed it and I am hoping to make some more, maybe to sell so I will share some of the things I have made with you all soon.

Thanks for looking

Katie xx

Monday, 1 September 2014

90th Birthday Card


Hi everyone, I'm such a bad blogger!! It's been ages and it isn't like I don't have anything to show you! I now have the Blogger app on my phone so I'm hoping that will help me keep up to date better. 

Here's a card that I made for my Gran's 90th birthday earlier this year. You'll probably notice that my cards are simpler now than they used to be as I have less time now! Hopefully the recipients are still pleased with them though. 


I used a mix of bits and pieces from my stash for this card. The hedgehog image is a sticker by Penny Black. I love their images and have has these stickers for years. I haven't used them all as I moved onto more stamping but they are great for a quicker card. 

Thanks for looking  

Katie x

Monday, 14 April 2014

Mother's Day Cards

Well it's been a while since I shared any cards with you all because I've been otherwise engaged with my 9 week old baby! As you can imagine I haven't had much spare time for crafting so had to make some Mother's Day cards fairly quickly. I don't normally use toppers but think I will be using then more now! 


I used Michael Powell toppers for these cards and I think that although they are simple, they are effective. I really enjoyed making them too and little man was good as gold whilst I was doing it! 

Thanks for looking!

Katie xx


Sunday, 8 December 2013

Blue Bauble Cards

Hi again,

I'm back again with a few more Christmas Cards to show you. Usually I make all my cards individually and don't do two the same. This year, as I am a bit behind, once I have found a layout that works I have done a few more that are similar. When I counted up how many I had done, I found I wasn't as far behind as I thought. That was until someone at work asked if I could make him 10 or 12!

I then had to get my skates on! A lot of my cards have cute images etc, so I tried to do some that were a bit more manly for him. I also wanted to do some quick ones to get them done. Here are a few that I came up with...


I have had the blue bauble stickers for years and not known what to do with them so was pleased when I had an idea! The man at work seemed to like them, so they must be ok!

I would like to enter the second card into the following challenge:


Thanks for looking. I'll be back with more soon!

Katie xx

Wednesday, 4 December 2013

12 Days of Christmas Cards

Hi Everyone,

Well I have been busy making Christmas Cards so thought it was time that I shared some with you. These cards I made using the 12 Days of Christmas papers that I received free with one of the DoCrafts Creativity Magazines. I really liked the papers when I received them, but when I sat down to use them, I really struggled with what to do with them! I didn't have anything else in the range and felt that nothing else I really had went with the papers.

Inspiration struck in the end and I cut out the baubles from one of the papers for the central image and used lots of silver to add some sparkle.


As I was pleased with how the card turned out, I did another one with gold accents instead. 


I have since used these papers for a few other cards and will share them at some point too. I hope you like these cards and if you have also used these papers for your cards I would love to see how you have used them. I will be adding more of my Christmas Cards so keep checking back!

Thanks for looking

Katie xx

Saturday, 23 November 2013

Chocolate Birthday Card!


Hi everyone,

Just a quick post this evening to show you a card I made using the Hot Diggity Dog collection. I made this card for a friend who is a big fan of chocolate so thought this cute image would be perfect!


Today I have been making more Christmas cards so will share some of those with you next week.

Thanks for looking.

Katie xx

Tuesday, 19 November 2013

Gorjuss Birthday Card

Evening everyone,

Today I am going to share a card that I made for my sister-in-law using the Gorjuss range.


I used papers from one of the paper packs and one of the mini decoupage packs. Think these are really good value and can be used to make a quick card if needed. The little flowers and butterflies are actually from the paper pack packaging as the idea is that everything can be used which is great. 


I have a few friends' birthdays coming up and I think I'll dig these papers out again to use for those.

Thanks for looking

Katie xx

Friday, 8 November 2013

Dad's Birthday Card


Hi everyone,

After the horrid "morning" sickness, the first card that I made was for my Dad's birthday. I had completely gone off card making or any kind of crafting with the sickness, so wasn't sure how this card would turn out. Was really pleased that it turned out so well though.


I used the "Home to Nest" range from DoCrafts for this card including papers and the notelet. The leaf embellishment was from my stash and so were the letters. Since starting more mini scrapbooks and smashbooking, I have acquired quite a collection of different alphabet stickers and thought this would make a change from the usual "Happy Birthday". I also used kraft card to mat everything onto. I think it makes a nice contrast with the white card.

Well I hope you like this card, and I will be back soon with more cards I have been making.

Thanks for looking.

Katie xx

Saturday, 19 October 2013

I'm back with a Baby Boy Card!

Well firstly I must apologise for not posting anything for such a hideously long time, but I do have a good reason! It is because I am pregnant! I had a really rough first 4 months with terrible nausea and sickness and didn't even go near my laptop for most of that time let alone do anything useful on it! I am now 5 months and feeling much better and have even started crafting again.

So appropriately I thought I would share a Baby Boy card I made for a friend. Lots of my friends seem to be having babies at the moment!


I used a mix of things from my stash for this card, firstly picking the forever friends bear image and bunting and then picking papers and other elements to go with it. I wanted to keep the colours fairly soft and was pleased with how it turned out!

I made my first two Christmas cards last night, so will share them with you shortly. I hope to be back to regular blogging now (although I can't guarantee that will continue after February as I may have my hands full!) I am hoping to make some things for the baby though so will share those with you too. Hopefully my lovely followers and some new people will still be around and haven't deserted me after my long absence!

Thanks for looking

Katie xx

Sunday, 16 June 2013

Wellington Father's Day Card


Hi everyone,

Here is the Wellington Father's Day card that I made for my Dad. I used a mix of things from my stash for this card.


I used kraft card and various patterned papers. The stickers and the sentiment are from the Wellington range, which is perfect for male cards.


I would like to enter this card into the following challenges:

Dream Valley Challenges - Father's Day/Male Theme
Joanna Sheen Challenge - Father's Day/Male Card

Thanks for stopping by.

Katie xx

Friday, 14 June 2013

May your day run like clockwork...


Evening everyone,

Well it's been another hectic week which is why I haven't done any crafting or blogging.

Here is the Father's Day card that I have made for my Father-in-law. He likes clocks, so I thought the chronology range would be perfect for him.


The clock was from a die cut set, so I layered the pieces up using foam pads and distresed the top layers with faded jeans distress ink. 


I hope he likes it! I am going to enter this card into the following challenges:

Papertake Weekly - Hello Boys
Art Impression Stamps - Masculine Card
Milk Coffee Challenge - Father's Day

Thanks for looking and I'll be back with the card that I made for my Dad.

 Katie xx

Saturday, 1 June 2013

Chronology 30th Birthday Card


Hi everyone,

Can't believe another week has gone by - been really busy this week so I'm glad it's the weekend! I'm now looking forward to enjoying the sun today.

Here is a card that I made for the 30th birthday of the guy who was best man at our wedding. Everything is from the DoCrafts Chronology range, which I love. The balloon and sentiment was from a decoupage pack, that I won in a competition in the Creativity Magazine.


I distressed the different layers of the balloon with dusty concord, faded jeans and walnut stain distress inks before layering them up using foam pads.


I would like to enter this card into the following challenges:

Simon says Stamp - Anything Goes
The Crafting Cafe - One for the Boys

Thanks for stopping by!

Katie xx